The cinematic saree portraits, golden hour beach shots, and retro studio looks flooding social feeds right now were the test bed for this guide. Over several weeks, more than 60 prompts went through Gemini's image model and other popular tools, first as short keyword lists, then as full scene descriptions. The gap in quality was dramatic and consistent. Learning how to write AI photo prompts has nothing to do with stacking words like "4k" and "ultra realistic". It comes down to describing a scene the way a photographer would brief a shoot, then refining it with follow-up edits. Every template and fix below earned its place by producing a keeper during testing, so open an image tool and try them as you read.
| Quick answer: To write a perfect AI photo prompt, describe the full scene in two to five sentences: the subject, the outfit, the setting, the lighting, the camera angle, and the mood. Write it like a short story, not a keyword list, then refine the result with targeted follow-up edits instead of starting over. |
What an AI Photo Prompt Actually Is
An AI photo prompt is the text description an image model turns into a picture. The model never sees the vision in anyone's head. It only sees the words, so every missing detail about light, pose, or place gets filled with a generic default, which is exactly where flat, plastic looking AI photos come from.
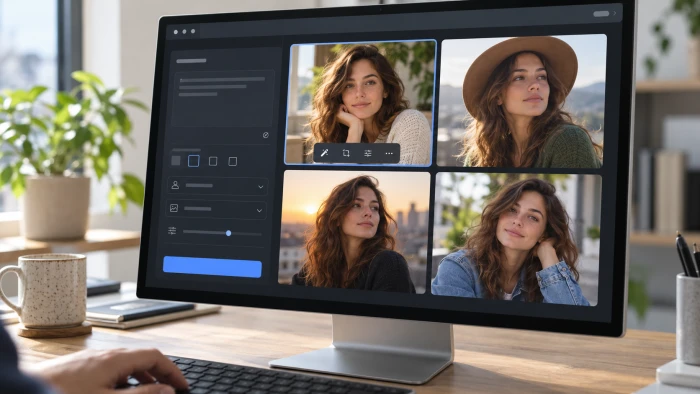
That is why two people can request the same concept and get completely different results. The one who describes the outfit, the light source, and the camera angle gets something that looks shot on purpose. The one who types five disconnected tags gets a stock photo with waxy skin.
| The core rule A photo prompt is a scene description, not a tag list. Write it the way a photographer briefs a shoot: who is in the frame, what they wear, where they stand, and how the light falls on them. |
The Six Building Blocks of a Stunning Photo Prompt
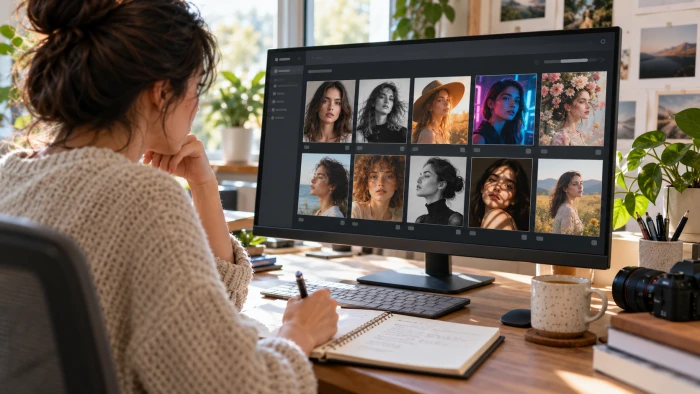
Every strong photo prompt answers six questions, and modern image models reward prompts that answer them in natural sentences rather than disconnected words. A narrative paragraph carries relationships, who wears what, where the light comes from, what sits behind the subject, that a tag list simply cannot express. The six blocks below expand the basic formula of subject, action, location, composition, and style into a version built for portraits and trending edits.
| Block | What it controls | Example phrases |
| Subject | Who is in the frame and what they are doing | "a young woman mid-laugh", "a man walking toward the camera" |
| Outfit and styling | Fabric, color, and accessories that define the look | "deep red silk saree", "loose white linen shirt", "silver jhumkas" |
| Setting | Location, background, and time of day | "a rooftop at dusk with city lights behind her" |
| Lighting | Source, direction, and warmth of the light | "golden hour backlight", "soft window light from the left", "neon glow" |
| Camera and composition | Angle, framing, and lens feel | "low angle", "85mm portrait lens, shallow depth of field", "close-up" |
| Mood and finish | The emotional tone and final texture | "moody editorial finish", "soft film grain", "dreamy pastel palette" |
Not every prompt needs all six spelled out in detail. Subject and setting are mandatory, lighting is the block beginners skip most, and it is also the one that changes results the most.
How to Write AI Photo Prompts in Six Steps
Step 1: Pick one clear concept
Decide the exact look before typing: a vintage couple portrait, a festive night shot, a black horse photoshoot. Prompts that blend three aesthetics at once come out as a muddy average of all of them. One subject, one scene, one mood per prompt keeps the model focused.
Step 2: Write sentences, not tags
"girl, saree, aesthetic, cinematic, 4k" throws away the model's biggest strength, its language understanding. A sentence carries relationships: who wears what, where the light comes from, what sits behind the subject. Two to five full sentences is the sweet spot for most portrait prompts.
Step 3: Direct the light
Lighting separates a real looking photo from an obvious AI render. Name a source, a direction, and a temperature: "warm golden hour backlight", "cool neon signs from the right", "soft diffused window light". Generic prompts default to flat, even lighting, which is the signature of a fake looking image.
Step 4: Control the camera
Photographic and cinematic terms work across every major tool. "Low angle" adds drama, "85mm portrait lens with shallow depth of field" blurs the background naturally, "wide shot" shows the full outfit. One camera instruction per prompt is usually enough.
Step 5: Say what you want, not what you don't
Negative instructions backfire on modern models because they anchor attention on the forbidden thing. Positive framing works better: "empty street" instead of "no cars", "a sharp, crisp portrait with natural skin texture" instead of "no blur, no distortion".
Step 6: Edit, don't restart
When a result lands 80 percent right, a fresh prompt throws that progress away. Follow up in the same chat instead: "keep everything the same but make the lighting warmer", "same scene, change the dress to emerald green". Conversational editing is where the trending multi-step looks actually get made.
AI Photo Prompt Examples: Weak Prompts Rewritten
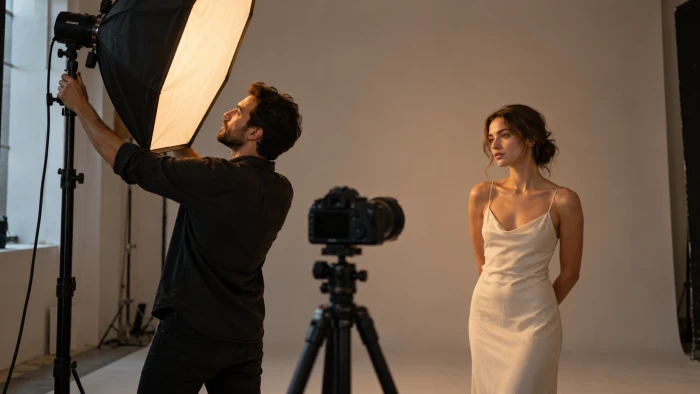
These rewrites came straight from the testing sessions. Each weak version produced a flat, generic image, and each rewrite produced something worth posting within one or two follow-ups.
| Weak prompt | Rewritten prompt | Why it works |
| "girl in saree, cinematic, aesthetic, 4k, trending" | "A young woman in a deep red silk saree stands on a rooftop at dusk, city lights glowing behind her. Golden rim light outlines her hair. Shot from a low angle with an 85mm portrait lens, shallow depth of field, moody editorial finish." | Sentences connect subject, light, and camera in ways tags never can. |
| "boy beach photo golden hour" | "A man in a loose white linen shirt walks along wet sand at golden hour, waves softly blurred behind him. Warm backlight creates a glowing rim around his silhouette. Candid mid-stride pose, natural skin texture, slight film grain, vertical frame." | Action, light direction, and pose replace the flat posed default. |
| "make this photo retro" | "Using the uploaded photo, keep the face and features exactly the same. Change the outfit to a brown leather jacket, place the subject in a 1970s studio with a warm beige backdrop, tungsten lighting, and soft film grain." | An identity lock plus a specific change list gives the model a precise edit brief. |
Copy and Paste Photo Prompt Templates
Each template covers the six blocks. Replace the bracketed parts, keep the sentence structure.
Cinematic portrait
A [subject] in [outfit with fabric and color] stands in [location] at [time of day]. [Light source] lights the face from [direction]. Shot from [angle] with an 85mm portrait lens, shallow depth of field, [mood] editorial finish.
Golden hour outdoor
A [subject] wearing [outfit] [action] at [outdoor location] during golden hour. Warm backlight creates a soft rim glow around them. Candid pose, natural skin texture, slight film grain, vertical frame.
Festive or traditional look
A [subject] in [traditional outfit with fabric and color details] poses in [decorated setting]. [Warm light source, such as diyas or string lights] glows softly in the background. Elegant composed pose, rich colors, soft bokeh.
Photo edit with your own picture
Using the uploaded photo, keep the facial features exactly the same. Change [current element] to [new outfit or setting], and relight the scene with [lighting]. Keep the result natural and photorealistic.
Common Photo Prompt Mistakes and How to Fix Them
| Mistake | Why it backfires | The fix |
| Keyword soup like "4k, ultra realistic, trending, masterpiece" | Tags carry no relationships, so the model guesses the whole scene | Write two to five sentences describing subject, light, and setting |
| Negative instructions like "no blur, no extra fingers" | Naming the flaw anchors the model's attention on it | Describe the positive version: "sharp focus, hands resting naturally" |
| Skipping the lighting entirely | The default is flat, even light, the number one fake photo tell | Name a source, direction, and warmth in every prompt |
| Changing everything between attempts | There is no way to tell which change helped or hurt | Adjust one block at a time: light first, then outfit, then angle |
| Expecting your real face from text alone | Words cannot encode the exact geometry of a real face | Upload a reference photo and ask to keep the features identical |
Four Advanced Moves Worth Learning Early
Lock identity in edits
For edits of a personal photo, open with "keep the facial features exactly the same as the uploaded photo" before describing any change. Without that line, models quietly redraw faces while swapping outfits or backgrounds.
Borrow real photography vocabulary
Terms like "backlit rim light", "f/1.8 bokeh", "aerial view", and "Dutch angle" are compressed instructions the model understands deeply. An hour spent learning ten photography terms upgrades every future prompt.
Match the frame to the platform
State the orientation inside the prompt or the tool's ratio setting: vertical for stories and reels, square or 4:5 for feed posts. Cropping a horizontal render afterward usually ruins the composition the prompt worked for.
Build a look library
Save every prompt that produces a keeper, labeled by look. A new variation then takes one swapped block, a different outfit or location, instead of a fresh prompt written from zero. Winning prompts compound fast.
What a Photo Prompt Can and Cannot Fix
Prompting fixes
|
Prompting cannot fix
|
A 30 Second Checklist Before You Hit Generate
Run every prompt past these six checks. Each one takes a few seconds and together they catch nearly every weak prompt before it wastes a generation.
|
Final Verdict
After weeks of recreating trending looks side by side, two changes mattered far more than everything else combined: writing the prompt as a scene instead of a tag list, and naming the light. That held up on every tool tested. Positive framing quietly rescued more failed generations than any clever adjective, and the identity lock line turned personal photo edits from a gamble into a routine.
One habit earned the hard way: resist the urge to stack ten adjectives into one prompt. A clean five sentence scene beats a bloated paragraph of style words, and a follow-up edit beats both. Change one block at a time, save everything that works, and run the next ten generations through the templates above. By the end of the week, the difference between a posted photo and a deleted one stops being luck and starts being craft.
Join the discussion