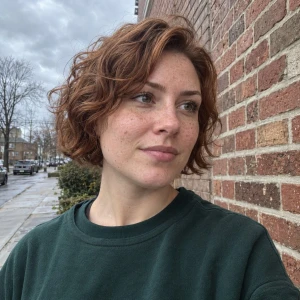
Spend a weekend feeding prompts into Midjourney, Flux, or ChatGPT’s image generator and one pattern shows up fast. The model is not trying to take a photograph. It is trying to produce the most average, most agreeable version of what you asked for. Type "a beautiful woman, portrait" and it blends a million portraits into one smooth, symmetrical, evenly lit face that no real camera ever captured. Pores disappear. Both sides of the face match a little too well. The eyes go slightly flat, and the colors run a touch hot. That composite is the AI look.
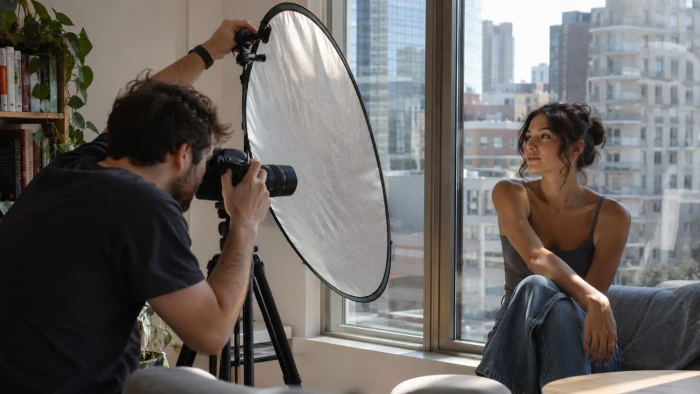
The surprising part, after a few hundred test generations, is that the cure is rarely a longer prompt. It is a more specific one. Name one real camera instead of stacking five. Name a single light source and say which direction it comes from. Ask for the tiny physical flaws the model is desperate to smooth away. The nine fixes below are the ones that changed the output the most, each with a prompt you can copy, adapt, and run today.
| The short version AI photos look fake because vague prompts force the model to average millions of images into a flawless composite. Realism comes back when you name one specific camera and lens, describe one real light source, and request physical evidence like skin pores, stray hairs, catchlights, and slight asymmetry. Specific beats detailed, and restraint beats more keywords. |
Why AI photos get that look
Before fixing anything, it helps to know exactly what gives a generated image away. Most fake looking results fail on only two or three of these, not all of them.
| Plastic, waxy skin Pores and fine lines are smoothed into a uniform matte or glossy surface. | Too perfect symmetry Both halves of the face mirror each other in a way real faces never do. |
| Flat, sourceless light Even illumination with no clear direction and no honest shadows. | Dead eyes, no catchlights Irises look painted and lack the small reflected highlight a real light leaves. |
| Oversaturated color Skies and skin tones pushed hotter and more vivid than a camera records. | Warped backgrounds Objects behind the subject bend, repeat, or sit at an impossible depth. |
| Mangled hands and teeth Extra fingers, fused knuckles, and uncanny smiles are still common failure zones. | Over sharpened detail Every strand and edge is crisp at once, which no single lens can actually do. |
Vague versus specific: the core shift
The single biggest change is moving from vague to specific. A vague prompt asks the model to average everything it has seen. A specific one asks it to imitate one particular photograph. The same idea, written two ways:
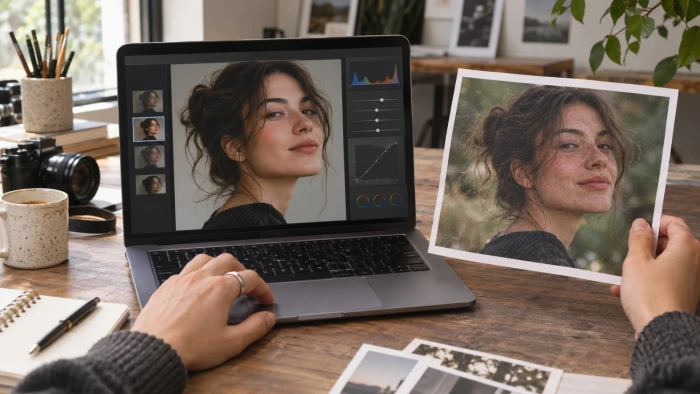
| Element | Vague (averages everything) | Specific (imitates one photo) |
| Subject | a beautiful woman | a 34 year old woman with freckles and flyaway hair |
| Camera | not mentioned | shot on a Canon EOS R5, 85mm lens at f/1.8 |
| Light | good lighting | soft window light from the left, overcast afternoon |
| Skin | flawless skin | visible pores, slight forehead shine, faint under eye shadow |
| Color | vivid, high quality | muted natural color, true white balance, Kodak Portra 400 |
The 9 prompt fixes
1. Name one real camera and lens, not a pile of themStacking five camera bodies and random settings tends to cancel out and often does nothing. Pick a single real camera and one lens that suits the shot. Focal length carries most of the realism signal. Use roughly 85mm for flattering portraits, 35mm for street or environmental shots, 50mm for a natural everyday look, 24mm for wide interiors, and 135mm to 200mm for compressed background blur. Add one aperture, such as f/1.8, for believable shallow depth. One lens and one aperture is plenty. Try this
|
2. Describe one motivated light source and its directionFlat, even light with no shadows is the fastest tell of all. Give the light a single origin, a direction, and a quality. Real photos have motivated light, meaning you can tell where it comes from. Try soft window light from the left, hard midday sun from above, warm golden hour backlight, or a single softbox at 45 degrees. Directional light creates honest shadows and shape, which reads as a camera rather than a render. Try this
|
3. Ask for skin texture, not flawless skinWords like flawless, perfect, and beautiful push the model straight toward wax. Request the physical evidence real skin always has. Name visible pores, fine lines, a little shine where oil sits, faint redness around the nose, stray eyebrow hairs, and subsurface scattering, which is the soft glow of light passing through skin. Realism comes from asking for imperfection, not from erasing it. Try this
|
4. Add a film stock, or say digital raw, minimally gradedClean digital output can read as sterile and over processed at the same time. Borrow a real film stock to bring grain and believable color science. Kodak Portra 400 gives warm, soft skin tones. Kodak Gold 200 leans nostalgic and golden. CineStill 800T adds a moody nighttime cast. Prefer a modern digital look instead? Write digital raw, minimally graded, which tells the model to skip the heavy beautifying pass. Try this
|
5. Fix the eyes with catchlights and a real gazeEyes are where the brain spots a fake first, and AI often leaves them flat or mismatched. Ask for one sharp catchlight in each eye that matches your light source, a natural gaze direction, and detailed iris texture. If eyes keep coming out wrong, generate at a larger size and crop in afterward, which gives the model more pixels to spend on them. Try this
|
6. Break the symmetry and the perfect framingPerfectly centered, perfectly mirrored faces are a signature AI tell. Ask directly for slight natural asymmetry in the face and a composition that feels caught rather than posed. Off center framing, a subject glancing away, a head tilt, or a moment of real motion all help. Perfect is the enemy here. Try this
|
7. Choose a candid pose and a closed mouth expressionStiff, straight to camera poses and big open smiles expose two weak spots, rigid body language and invented teeth. Direct an action and an honest expression. Mid laugh with a closed mouth, looking out a window, adjusting a jacket, or caught mid stride all beat a frozen stare. Teeth remain a common failure zone, so a relaxed closed mouth smile is the safer choice. Try this
|
8. Ground the shot in a real, specific placeClean studio voids and floaty, warped backgrounds signal a generated scene. Put the subject somewhere specific and lived in, and describe how the background behaves. A cluttered kitchen at breakfast, a rain slicked street at night, a sunlit office with papers on the desk. If reflections appear, constrain them, for example a mirror that shows the room behind the camera rather than random invented geometry. Try this
|
9. Use negative prompts and dial the stylize downLeft unchecked, models default to smoothing, symmetry, and cranked saturation. Tell the model what to avoid and reduce its artistic push. Exclude plastic skin, airbrushed, waxy, doll like, mannequin, cgi, 3d render, cartoon, oversaturation, and extra fingers. In Midjourney, add style raw with a low stylize value. In Stable Diffusion, place those exclusions in the negative prompt field. Try this
|
A realism prompt formula you can reuse
Stack the fixes in one repeatable order. Fill the brackets, keep it under about 60 words, and cut anything that does not earn its place.
Formula
Filled in
|
Tool by tool: the levers that matter
Every generator has one or two settings that matter more than the rest. The craft above carries across all of them, but these levers are worth knowing.
| Tool | Realism lever to reach for |
| Midjourney v7 | Add style raw with a low stylize, around 20 to 50, to cut the beautifying pass. Name a camera and lens, and use the no parameter for exclusions. |
| Flux | Responds best to plain, descriptive sentences. Favor natural language over parameter stacks, and lean hard on light and texture description. |
| Stable Diffusion | Use the negative prompt field for the exclusions above. For image to image, keep denoising around 0.4 to 0.6 so texture survives, and CFG near 6 to 7. |
| ChatGPT, DALL-E, Gemini | No hard parameters, so spell realism out in words. Describe catchlights, reflection sources, and a film stock directly in the sentence. |
Mistakes that keep images looking fake
A few habits quietly keep results looking generated. The swaps below fix most of them.
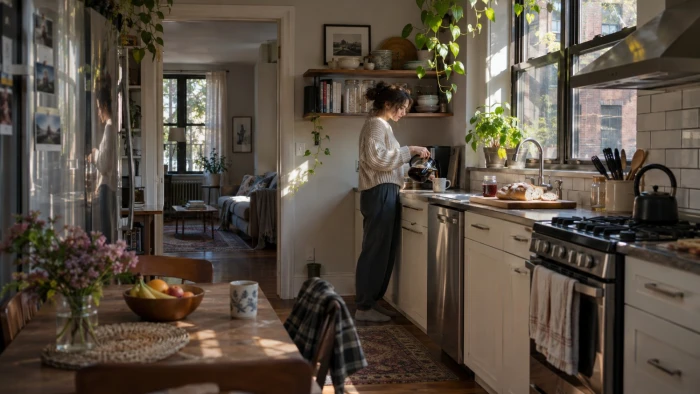
| What keeps it looking fake | Do this instead |
| Stacking ten camera models and every setting | One camera, one lens, one aperture |
| Asking for flawless, perfect, or beautiful skin | Ask for pores, shine, and fine lines |
| Leaving lighting unspecified | Name one source and its direction |
| Maxing stylize and saturation | Lower stylize, request muted natural color |
| Ignoring the eyes and hands | Request catchlights, pose or hide the hands |
| Big open mouth smiles with visible teeth | Relaxed closed mouth expression |
| Skipping negative prompts | Exclude plastic, waxy, cgi, oversaturation |
Quick checklist before you hit generate
Run through this before every serious generation.
|
Final verdict
After enough late nights pushing these tools, the realistic results almost never come from the cleverest or longest prompt. They come from restraint, and from thinking like a photographer instead of a search engine. One camera. One light. A real place. A few honest flaws left in on purpose. The models are already capable of photoreal output, and most prompts simply ask them to be pretty instead of real.
Treat the nine fixes as a kit, not a script to recite in full every time. A clean portrait might need only three of them. A tricky night scene might need all nine plus a second pass to repair the hands. Keep what works for the subject, drop the rest, and the AI look stops being a wall and becomes a setting you can switch off.
| One camera, one light, one real place, and a few honest flaws. That is the whole trick. |
Join the discussion