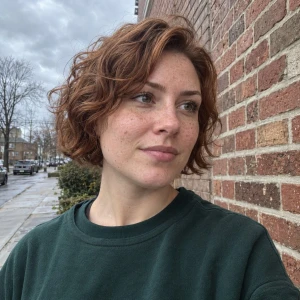
The first cinematic portraits I generated were, frankly, disappointing. I typed things like "cinematic portrait of a woman, 8K, highly detailed, masterpiece" and got back glossy, airbrushed images that looked like a phone's beauty filter had been left on. They were sharp. They were also lifeless.
The turning point came when I stopped describing quality and started describing a camera. The moment I swapped "highly detailed" for "85mm lens, soft window light, shallow depth of field," the images changed character completely. They stopped looking generated and started looking shot.
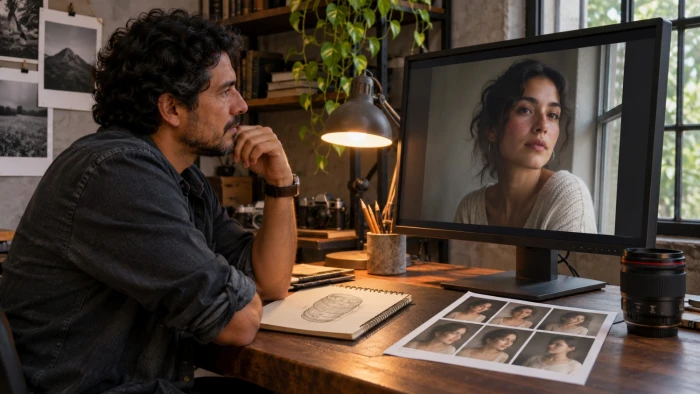
That shift is what this guide is about. Over months of running the same subjects through Midjourney, Flux, and ChatGPT's image model, a small, repeatable system emerged, one that works whether you are writing three words or thirty. You do not need to memorize film theory or own a camera. You need to know which six things actually move the needle, and how to say them in plain language. Everything below is built from prompts I have run myself: the ones that reliably produce a cinematic look, and the common phrasings that quietly sabotage it.
The six ingredients of a cinematic portrait
A cinematic image is not one magic word. It is the sum of six decisions. Name all six and the model has almost nothing left to guess.
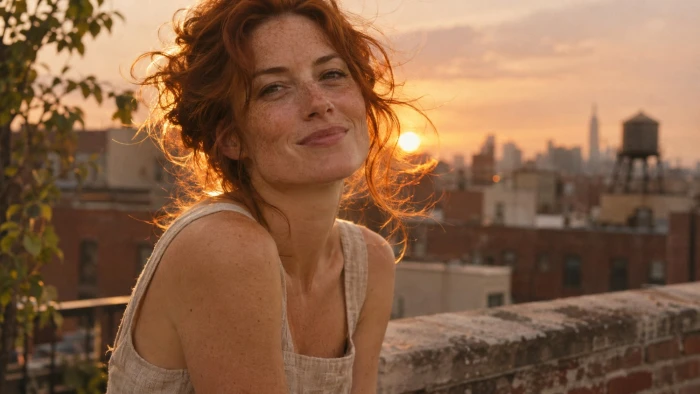
Subject and expression Age, wardrobe, and above all the look on the face. "Pensive, gaze just off camera" reads human. "Beautiful woman" reads like a stock model. Pin down one feature and one emotion. | Lighting The single biggest lever. One clear, motivated light source beats a pile of adjectives. Rembrandt, rim light, hard noir, and soft window light each tell a different story. |
Lens and camera Focal length and aperture decide how the face sits in space. An 85mm lens at f/1.8 compresses the background and melts it into bokeh. This is the look most people mean by cinematic. | Film and color Naming a real film stock or grade is shorthand for a whole palette. Kodak Portra for warm skin, CineStill 800T for neon nights, teal and orange for the blockbuster look. |
Composition and ratio Where the subject sits and the shape of the frame. A 2.39:1 widescreen crop signals cinema before a single pixel loads. Leave breathing room, and avoid dead center unless you mean it. | Mood and atmosphere The glue. Rain on glass, haze, golden warmth, or cold blue twilight. One atmospheric detail turns a headshot into a scene. |
A prompt skeleton you can reuse
[shot size] portrait of [subject, age, expression], [wardrobe and setting], [one light source and its direction], [lens and aperture], [film stock or color grade], [mood or atmosphere], [aspect ratio]
You will not always fill every slot, and that is fine. Even three of these, chosen well, outperform a wall of quality words.
Lighting: the one choice that changes everything
If you only upgrade one part of your prompt, make it the light. These are the setups I reach for most, and the mood each one carries.
| Setup | Say this in your prompt | The look it gives |
| Rembrandt | Rembrandt lighting, key light 45 degrees to the side | Classic and dignified, with a small triangle of light on the shadowed cheek |
| Split, low-key | split lighting, single hard source, deep shadows, low-key | Noir and tense, half the face dropped into darkness |
| Rim, backlight | strong backlight, rim light separating hair from background | Cinematic separation and a glowing edge around the subject |
| Soft window | soft directional light from a north window, gentle falloff | Intimate and natural, very flattering on skin |
| Chiaroscuro | chiaroscuro, dramatic contrast between light and shadow | Painterly, Old Master drama |
| Practical neon | magenta and cyan neon practicals reflecting on the face | Urban night energy and bold color casts |
| Golden hour | low warm sun, golden hour backlight, soft fill on the face | Nostalgic and romantic, with a warm glow |
Lens and aperture: how the face sits in space
Focal length is a storytelling choice, not a technicality. Wider lenses include the world around a person. Longer lenses isolate them. Aperture controls how soft the background goes.
| Lens | Best for | What it does |
| 35mm | Environmental portraits | Keeps the setting visible and adds a sense of place |
| 50mm | Everyday, natural look | Close to how the eye sees, versatile and honest |
| 85mm | Classic portraits | Flattering compression and a creamy background, the default cinematic face |
| 135mm | Tight and dramatic | Heavy compression and thin focus, the background dissolves entirely |
| f/1.4 to f/2 | Subject isolation | Shallow depth of field and soft bokeh that lift the face off the background |
| Anamorphic | Widescreen signature | Oval bokeh and horizontal flares, the unmistakable cinema-lens look |
Film stock and color: a palette in one phrase
Modern models recognize real film stocks and grades. Naming one is the fastest way to set an entire palette without listing a dozen colors.
Kodak Portra 400 Warm, soft, forgiving skin tones with muted color. The editorial, natural-light choice. | CineStill 800T Tungsten cinema film with halation, that red glow around bright lights. Made for neon and night. |
Teal and orange The Hollywood blockbuster grade. Skin pushed warm, shadows cooled to teal for instant contrast. | Bleach bypass Desaturated, high contrast, faintly silver. Gritty and serious, the thriller and war-film look. |
Kodak Ektar 100 Punchy, saturated, crisp. Good when you want color to pop without looking digital. | High-contrast black and white Timeless and graphic. Strips color so light and expression carry the whole frame. |
A five-step workflow that actually works
You do not write the perfect prompt in one go. You build it. This is the loop I run every time, and it is faster than it looks.
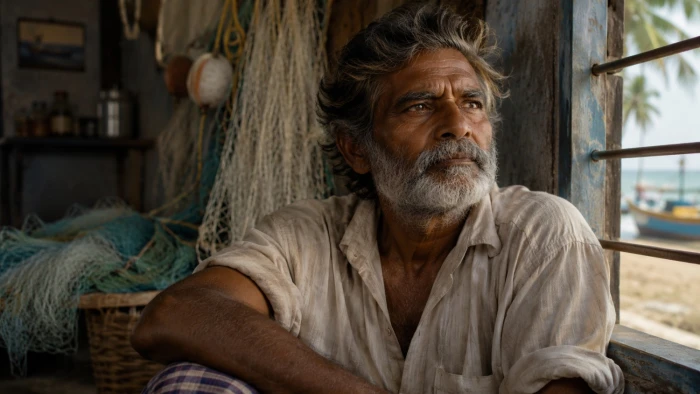
| 1 | Start embarrassingly simple Begin with just the subject and one light: "portrait of an older fisherman, soft window light." See what the model gives before adding anything. A clean base is far easier to steer. |
| 2 | Add the lens and depth Now bring in the camera. Add "85mm lens, shallow depth of field." This alone separates the subject from the background and kills most of the flat, snapshot feeling. |
| 3 | Set the film and grade Drop in a film stock or color grade that matches your mood. This is where a plain photo becomes a specific world: Portra for warmth, CineStill for night, teal and orange for drama. |
| 4 | Shape the frame and mood Choose an aspect ratio, 2.39:1 for full cinema or 4:5 for a feed, and add one atmospheric detail like haze or light rain. Small touches, large payoff. |
| 5 | Lock a seed, change one thing When you are close, fix the seed so the image stops reshuffling, then change a single word at a time. This is how you learn what each term really does, and how you refine without starting over. |
From generic to cinematic: three real rewrites
The gap between a flat result and a cinematic one is rarely talent. It is specificity. Here are three prompts I rewrote, and exactly what changed.
Noir detective
Before
| a man in a suit, cinematic, 4k, highly detailed |
After
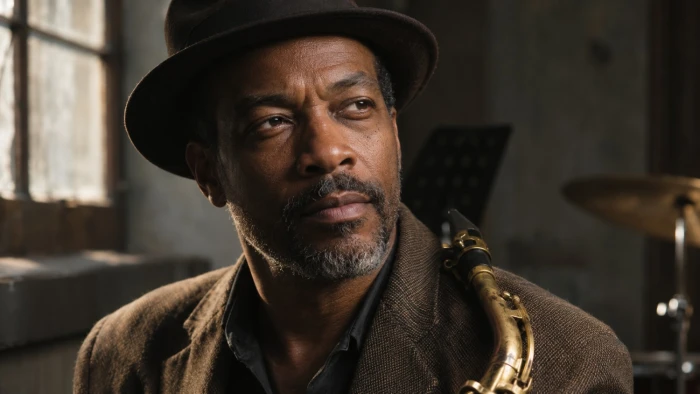
| Medium close-up of a tired detective in his fifties, loosened tie, three-day stubble, split lighting from a single desk lamp, deep shadows, low-key noir, 85mm at f/2, CineStill 800T with subtle halation, pensive gaze off frame, 2.39:1 |
| What changed: A real person with an expression, one committed light, a lens, a film stock, and a cinema ratio replaced four empty quality words. |
Golden hour editorial
Before
| beautiful woman outside, sunset, photorealistic, masterpiece |
After
| Environmental portrait of a woman in a linen dress on a rooftop at golden hour, low warm backlight rimming her hair, soft fill on the face, 35mm lens, shallow depth of field, Kodak Portra 400 tones, light film grain, relaxed candid half-smile, 4:5 |
| What changed: A setting, a direction for the light, a focal length, a film look, and grain turned a generic beauty shot into a believable editorial moment. |
Cyberpunk neon
Before
| cyberpunk portrait, neon, cool, ultra detailed, trending |
After
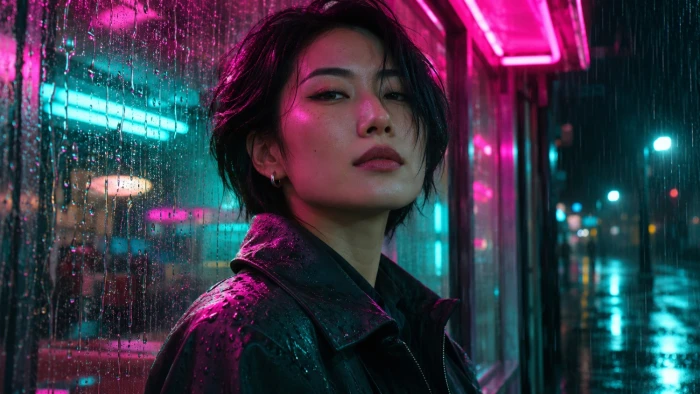
| Night portrait of a young woman under a neon sign, magenta and cyan light reflecting on wet skin, teal shadows, 50mm at f/1.8, CineStill 800T halation around the signs, light rain, anamorphic flares, direct confident gaze, 2.39:1 |
| What changed: Motivated color from the signs, reflections on skin, a lens, a film stock, and anamorphic flares did the work that "cool" and "trending" never could. |
Which tool for which look in 2026
The models have specialized. After running the same portraits through all of them, here is where each one earns its place and the setting that gets the best cinematic result.
| Tool | Strength for portraits | Prompt tip |
| Midjourney (V7) | Distinctive, filmic aesthetic with little effort | Add --style raw, lower --stylize, use omni-reference for the same face, and drop the word "beautiful" |
| Flux 2 | The most convincing skin and texture | Write plain, descriptive sentences, it follows them closely. Add film and grade words to warm up its clean default |
| ChatGPT image | Easiest to refine in plain English | Iterate conversationally: "make the light harder, push the shadows." Strong on prompt adherence |
| Local Flux or SDXL | Precise control and face consistency | Use ControlNet and negative prompts to strip plastic skin and fix anatomy. More setup, more control |
Common mistakes, and the fix
Most disappointing portraits come from a short list of habits. Each one has a simple fix.
Stacking quality words Fix: Piling on "8K, masterpiece, hyperrealistic, award-winning" does little in modern models and can flatten the result. Describe one real camera and one film instead. | Fighting light sources Fix: Golden hour plus a studio softbox plus neon is three stories at once. Commit to a single motivated light and the image snaps into place. |
Plastic, airbrushed skin Fix: The default AI face is too smooth. Add "visible pores, natural skin texture, no retouching," and in Flux or SDXL, negative-prompt the waxy look. | The "beautiful" trap Fix: Words like beautiful and gorgeous push the model toward a generic ideal. Swap them for an age, an expression, and one specific feature. |
Forgetting the frame Fix: A square crop rarely feels cinematic. Choose an aspect ratio on purpose: 2.39:1 for film, 4:5 for a vertical feed. | Changing everything at once Fix: Tweak five things per attempt and you never learn what worked. Lock the seed and move one variable at a time. |
A few things I wish I had known sooner
- A 2.39:1 ratio does more for a cinematic feel than any adjective you can add.
- Ask for catchlights in the eyes. That small reflection is what makes a portrait feel alive.
- Naming a director or film era only helps if you also describe the light. The name on its own is unreliable.
- Let the face be slightly imperfect. Perfect symmetry is the quickest way to look fake.
- Reuse the same seed and a reference image to hold one character steady across a whole series.
Final verdict
After enough hours of this, the thing that stays with me is how little the fancy vocabulary matters and how much the fundamentals do. The prompts that consistently produce cinematic portraits are almost boring in their logic: one subject with a real expression, one light I can picture in a room, one lens, one film. When an image falls flat, it is almost never because I needed a rarer word. It is because I asked for a quality instead of describing a scene.
If you take one habit from all of this, let it be the swap from the start: stop describing how good the image should be, and start describing the camera that supposedly took it. Pick a tool that fits your goal, Flux when you need the photo to pass as real, Midjourney when you want beauty with less effort, ChatGPT when you want to talk your way to the shot. Then build the prompt in small steps, lock a seed, and change one thing at a time. Do that, and "cinematic" stops being a word you hope the model understands and becomes something you can reliably direct.
Join the discussion